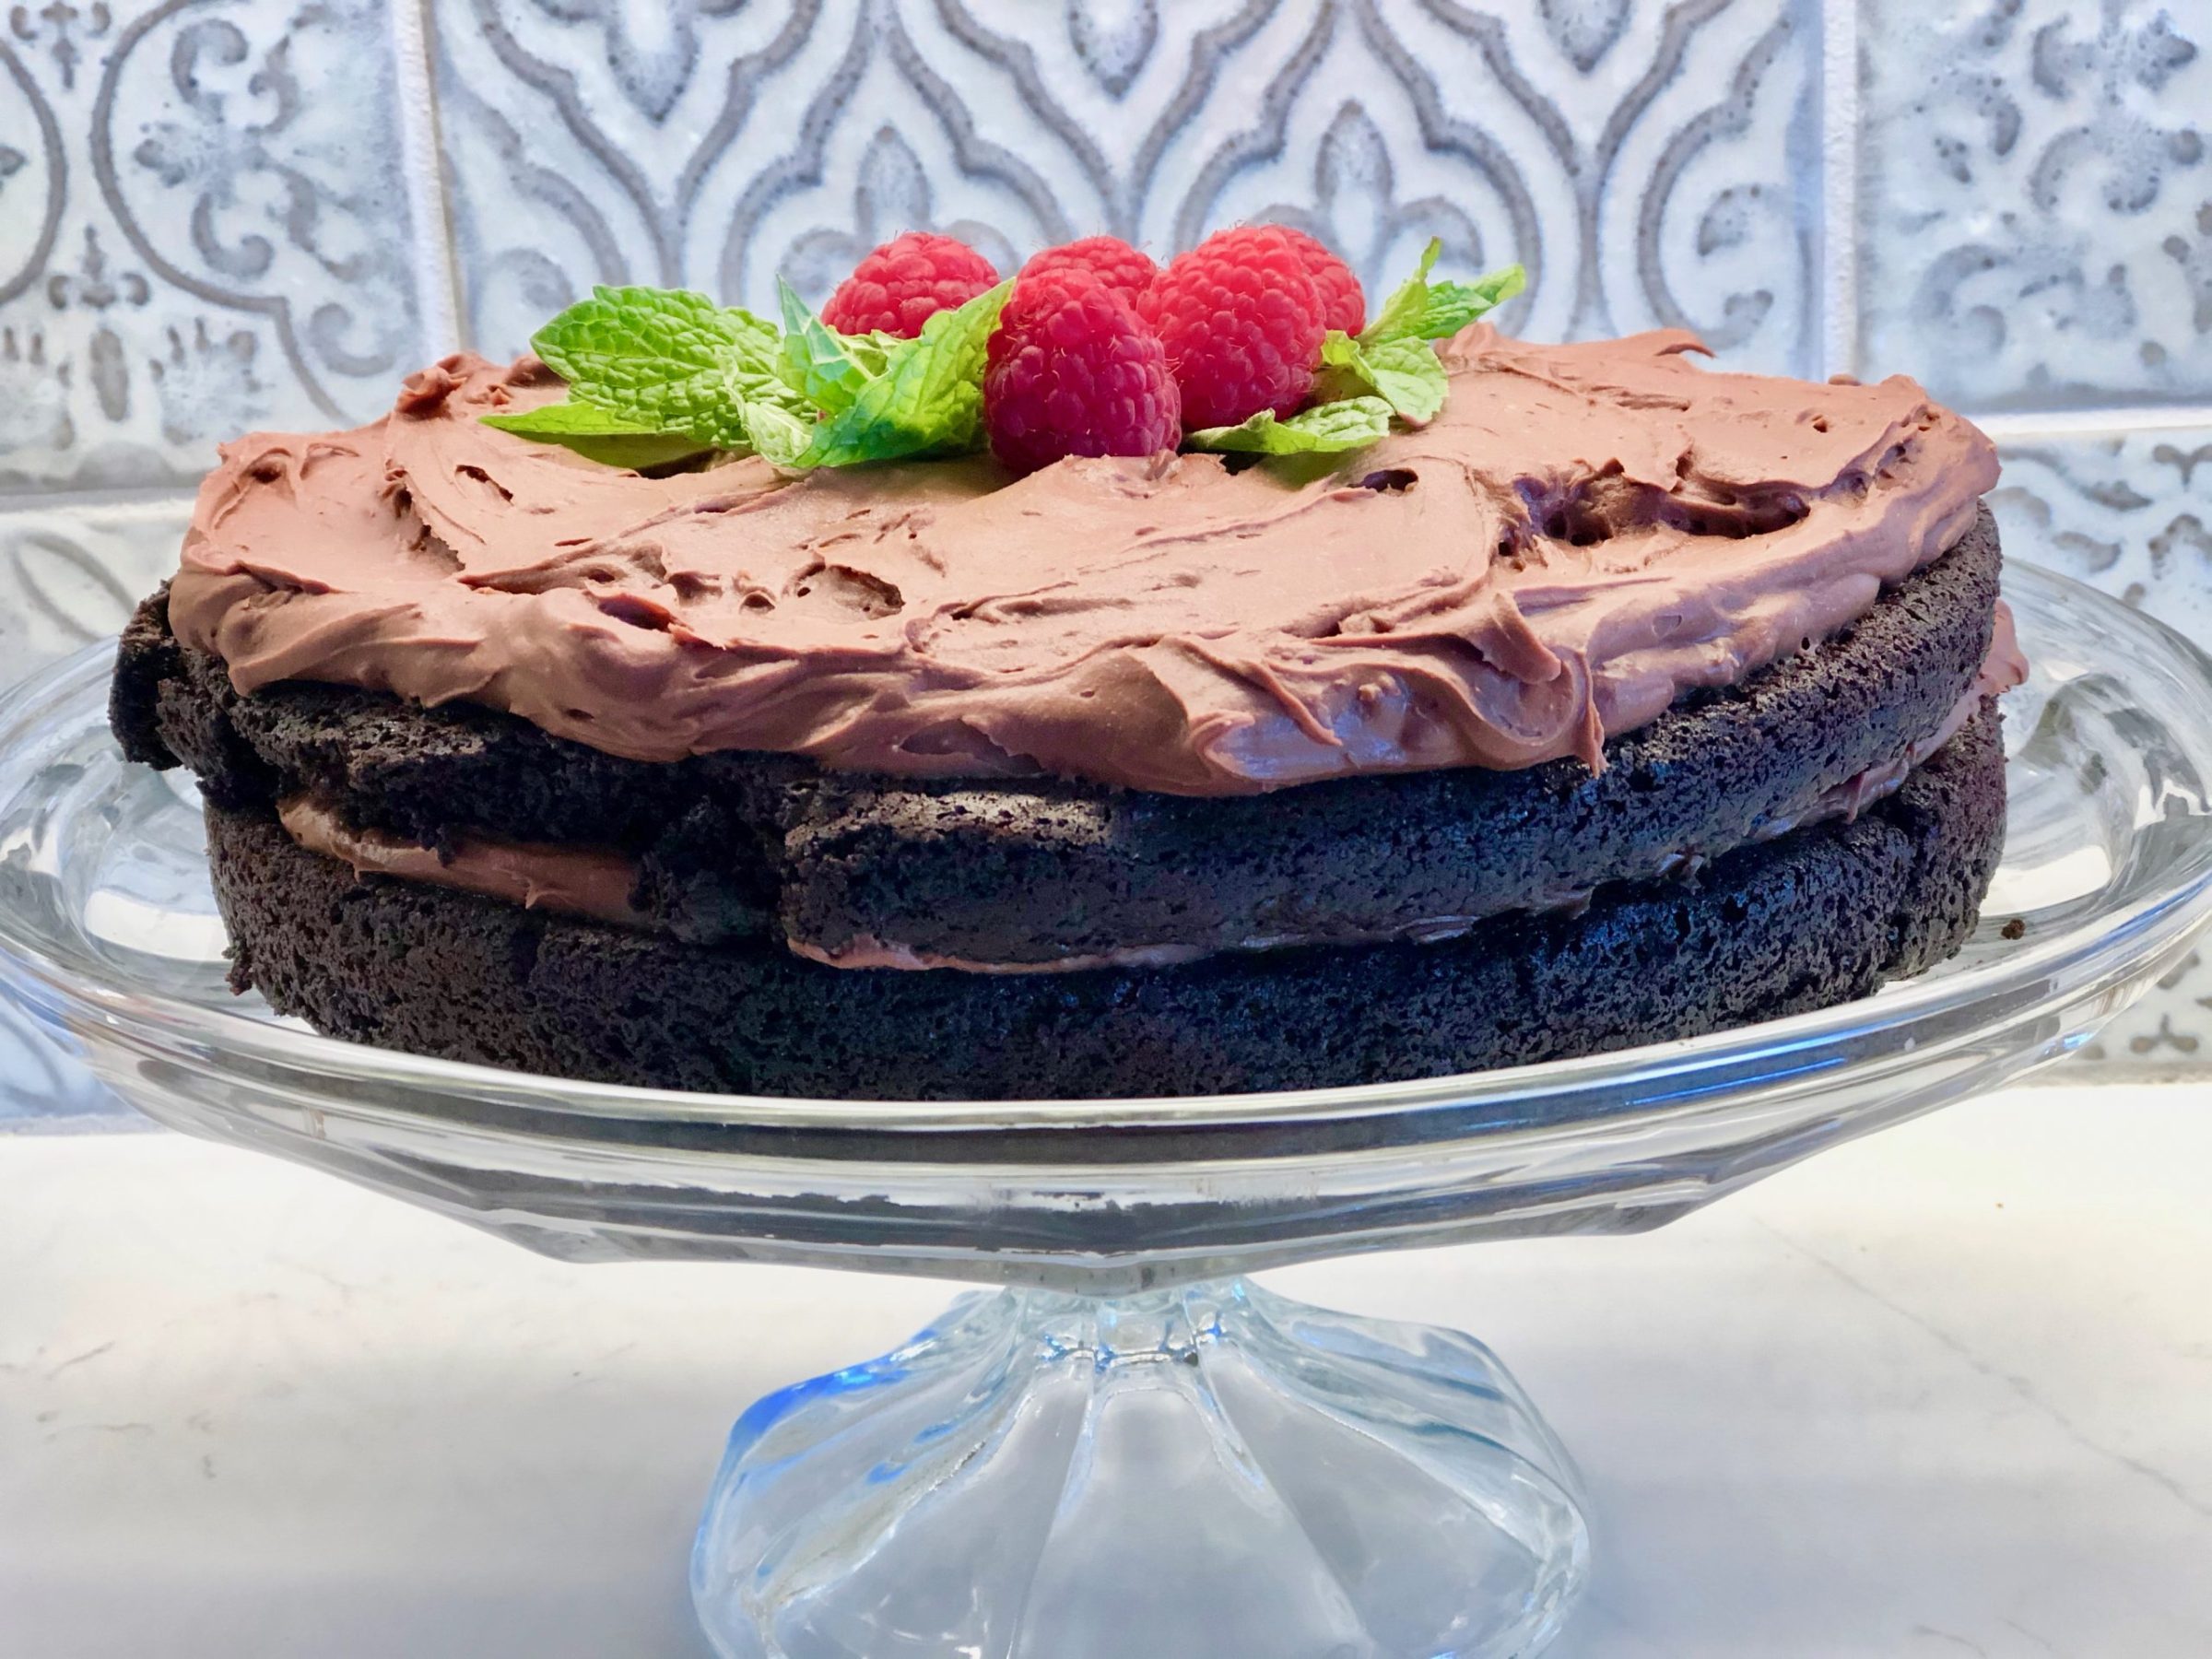
Ingredients
CAKE:
2 cups cooked quinoa (I used a dark tri color quinoa )
1/3 cup unsweetened coconut milk (SO Delicious Brand)
4 eggs
1 teaspoon vanilla extract
1/2 cup vegan butter, melted
1/4 cup melted coconut oil
1 cup organic white sugar/ or coconut sugar
1 cup unsweetened cocoa powder
1/2 teaspoon baking soda
1 and 1/2 teaspoon baking powder
zest of 1 orange
1/2 teaspoon salt
FROSTING
2– (13.5 ounce) cans of full fat coconut milk, refrigerated overnight
10 ounce semi sweet chocolate chips
Instructions
Preheat the oven to 350°F and then line two round cake pans with parchment paper.
In a blender, combine the eggs, SO Delicious coconut milk and vanilla extract then blend for 15 – 30 seconds to combine. Add the cooked and cooled quinoa along with the melted and cooled butter and coconut oil then blend until completely smooth, about 1 – 2 minutes.
Sift together the dry ingredients in a large bowl (cocoa powder, sugar, orange zest, baking powder, baking soda and sea salt). Pour the wet ingredients into the bowl with the dry and mix together until well-combined. Divide the batter between the two pans and bake for 30 minutes. Remove the cakes from the oven and set aside to cool.
To make the frosting you will need to refrigerate the canned coconut milks several hours or overnight so that the cream separates. Open one can of coconut milk from the refrigerator but don’t shake the can or turn it upside down before opening. Open the can and scoop out the solid parts with a spoon ( do not use the coconut water in the bottom of the can) then place them in a medium size saucepan. Add the chocolate chips to the saucepan then warm over medium heat, until the coconut cream and chocolate melt together. Whisk until smooth.
Allow to cool on the counter then cover and refrigerate for several hours, until thickened. Once it has thickened, remove from the refrigerator and place in mixing bowl of the kitchen aide with whisk attachment whip on medium speed for thirty seconds. Open the second can of coconut milk, add some of the separated coconut cream from the second can that has been chilled. Whip until a fluffy icing has formed. Add as much of the coconut cream as you like to get a lighter texture and color.
Transfer the cakes to a surface for icing with the bottom side up. I recommend that you only transfer the cakes once as they are fragile and difficult to hold together once removed from the parchment paper.
Frost the cake and refrigerate until ready to serve. The icing will melt in really warm conditions but should be fine for a few hours in cooler settings.
Notes
Refrigerate any left overs. You can bake the cake the day before and make the frosting and ice right before serving. If the cake has been iced several hours before you plan to serve, refrigerate and then bring out to room temperature at least 30 minutes before serving.


